
At-home composting is a great method to cut waste, improve the soil in your garden, and help the environment. You may lessen the quantity of waste that ends up in landfills and produce a nutrient-rich amendment for your garden by turning organic waste into beneficial compost. Everything you need to know to begin composting at home will be covered in this tutorial, from the fundamentals to more complex advice.
What is Composting?
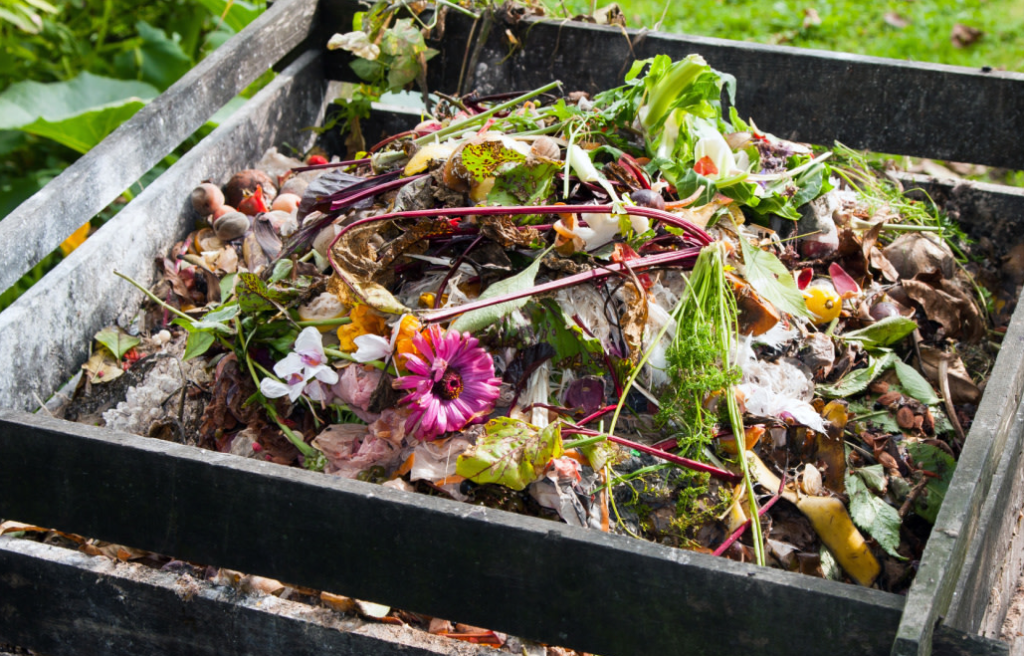
Composting is a naturally occurring process that turns organic waste, such food leftovers and yard trash, into a rich source of nutrients for soil. The organic matter is broken down by larger creatures like earthworms and microorganisms like fungi and bacteria, which result in humus a nutrient-rich, crumbly substance that resembles soil.
Benefits of Composting
- Minimizes Waste: By keeping organic waste out of landfills, composting helps cut down on waste production in general.
- Enhances Soil: By adding vital nutrients to the soil, compost helps the soil retain water longer and support the growth of plants.
- Minimizes artificial Use: Compost helps to cut down on the requirement for artificial fertilizers by giving natural nutrients.
- Environmental Impact: Composting lessens the demand for synthetic fertilizers, which are frequently made from fossil fuels, and the greenhouse gas emissions from landfills.
Choosing a Composting Method
Various composting techniques are available, based on your tastes and way of life:
- Conventional Composting: This technique breaks down organic materials gradually by building a compost pile or utilizing a compost bin.
- Vermicomposting: This process breaks down organic materials by using worms, usually red wigglers. It’s perfect for tiny spaces for indoor composting.
- Bokashi Composting: This technique uses a specific inoculant to ferment organic waste. It is quicker than standard composting and can handle dairy and meat.
- Composting in a tumbler: This technique mixes and aerates compost materials with a revolving drum to hasten the decomposition process.
Setting Up Your Compost Bin
choosing a Location
Select a handy spot for your compost container. To prevent any possible smells, it should be conveniently located but not too close to your house. It is best to place the compost in a somewhat shaded area to keep it from drying out or getting too moist.
Selecting a Container
Compost bins are available for buy or can be made yourself. Choices consist of:
Compost tumblers: They facilitate faster composting by being simple to turn and aerate.
Simple and reasonably priced, static bins need to be manually turned using a pitchfork or compost aerator.
Handmade Bins: Constructed from materials such as wire mesh or wood pallets.
Organizing the Bin for Composting
To make your bin accessible to worms and microorganisms, place it on bare soil. If putting on a hard surface, fill the bottom with soil. To guarantee optimal drainage, elevate the container on bricks or incorporate a layer of coarse materials such as twigs or straw.
What to Compost and What Not to Compost
Compostable Materials
- Greens: Things high in nitrogen, such as leftover fruit and vegetable parts, coffee grounds, tea bags, and recently cut grass.
- Browns: Materials high in carbon, such as sawdust, newspaper, straw, dry leaves, and cardboard.

Non-Compostable Materials
- Meat and dairy products can produce smells and draw bugs.
- Fats and oils: These can slow down decomposition and draw bugs.
- Sick Plants: They can transmit illness throughout your landscape.
- Pet waste: May have infectious agents in it.
Maintaining Your Compost Pile
Balancing Greens and Browns
A healthy blend of greens and browns is necessary for a successful compost pile. Aim for a brown-to-green ratio of roughly two to three parts to one. While too many browns can impede decomposition, too many greens can make the pile stinky and damp.
Aeration and Turning
For compost to break down effectively, it needs oxygen. To aerate your pile and hasten the composting process, turn it once a week or more. If you’re using a tumbler, turn it in the direction recommended by the manufacturer.
Moisture Management
The consistency of compost should resemble a wrung-out sponge. If it’s too dry, add water; if it’s too wet, add dry browns. Moisture retention may be aided by covering the pile.
Harvesting and Using Your Compost
When the compost is crumbly, black, and smells earthy, it is ready. Several months to a year may pass during this process, depending on a number of variables like the temperature and the materials being employed.
- Method: Use a screen to sort the compost and remove any unfinished materials that can be added back to the pile.
- Indicators of readiness: There should be no discernible food scraps or other materials, and the compost should be homogeneous.
- In the Garden: Before planting, mix into the soil to increase structure and fertility.
- As Mulch: Cover plants with this material to keep moisture in and keep weeds at bay.
- In Potting Mixes: Mix with additional ingredients to make nutrient-rich container potting soil.
Conclusion
Composting at home is a satisfying and sustainable hobby that will help your garden and you both. You may make your own nutrient-rich compost, cut waste, and improve the health of the environment by following this approach. Cheers to composting!
